How to Refinish Hardwood Floors
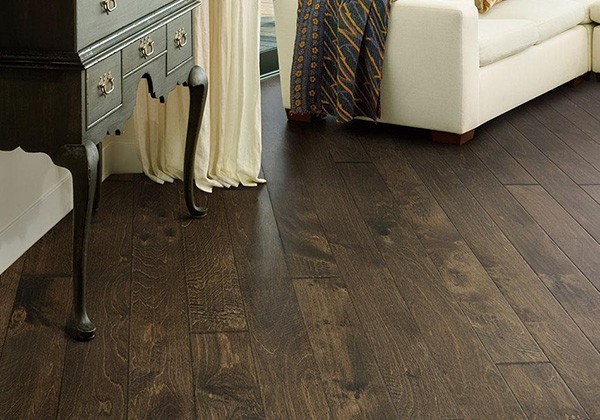
River Ridge Flooring by Palmetto Road
When a buff and polish is not enough to refresh hardwood floors, refinish them and make them look as good as new. Here’s how to refinish hardwood floors.
Step 1: Prepare the Floor Area
-
Clear the room and remove all furniture and rugs.
-
Slide a putty knife across the hardwood and hammer down any protruding nails. Check for squeaking and secure loose floorboards with finishing nails.
-
Vacuum or mop debris and seal vents, ducts and doors with plastic sheeting to keep dust from spreading.
-
Remove base molding with a pry bar and protective wood scraper, labeling their locations.
Step 2: Rough-Sand the Floor
-
For gouges and discoloration, run a drum or belt sander lengthways across the planks and grain over three- to four-foot spans, using 40-grit, 60-grit and 100-grit.
-
Replace the abrasive belt every 250 square feet, sweeping and vacuuming dust between each.
-
Wear a mask, goggles and ear protection for the drum sander.
Step 3: Sand the Edges and Corners
-
Moving from a coarse to fine grit, use an edger sander or orbital sander to sand corners, edges and hard-to-reach areas.
-
For the smallest areas, use a scraper and 80- to 100-grit sandpaper.
Step 4: Screen-Sand the Floor
-
Use a floor buffer with a fine-grit screening pad to “screen-sand” and remove scratches and unevenness.
-
To get a smoother surface, make broad arcs, swinging the buffer left to right.
Step 5: Remove All Dust
Step 6: Apply the Wood Stain
-
Improve or change your hardwood color with wood stain or a sanding sealer.
-
Using a foam applicator, apply the stain along the wood grain’s direction, focusing on one manageable arm’s length of area at a time.
-
After a few minutes, remove excess stain with a cotton cloth-wrapped applicator pad and allow stain to dry.
Step 7: Apply the Finish
Protect your newly stained hardwoods with a finish:
Water-based polyurethane or lacquers–quick-drying, but makes application trickier. Takes four coats.
Oil-based polyurethane–dries slower, allowing time for a smoother coat. Wear a respirator to protect from fumes. Takes three coats.
-
Using a lamb’s wool applicator, apply coats in smooth and thin even lines.
-
As each coat dries (~24 hrs), sand gently with 220-grit sandpaper or #000 steel wool and vacuum the dust.
-
Once the last finish is completely dry, replace any trim or molding.
Whatever your flooring project, Twenty and Oak is here to help connect you with professional help and provide expert guidance. In order to avoid any issues while refinishing your hardwood floors, our team recommends seeking professional help.
Shop New Hardwood Flooring Options
Twenty & Oak Flooring Experts
Twenty & Oak Flooring Experts are a team of flooring professionals with over 150 years of combined experience in the industry. They have hands-on experience with all flooring types and bring inside industry know-how to homeowners in the Southeast.
Beautiful Floors Start Here
Get Inspired
-Flooring Trends & Styles
-Flooring Renovation Tips
-Expert Flooring Picks
Start to Plan
-Take Our Flooring Quiz
-Find Your Favorite Products
-Get Advice From Our Pros
Pick Your Floors
-Order Samples
-Get A Flooring Quote
Get Answers to Your Questions
-Flooring Installation Questions
-Common Questions
-How to Choose the Right Floor for You