How to Cut Laminate Flooring
Source: mRGB / Shutterstock.com
Step 1: Have the Necessary Tools
Before you cut laminate flooring, make sure you have these tools to achieve the best results:
Step 2: Measure the Length and Width
To achieve optimal results, the first and last laminate pieces should be the same width or size. So, it’s important to measure the room and mark the board correctly for a uniform look.
-
Measure the entire width of the room, subtracting ½-inch to account for the spacers.
-
Divide that width by the width of the laminate flooring.
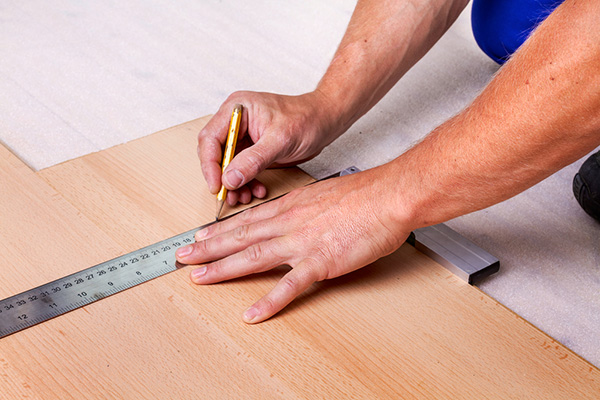
Step 3: Mark and Cut the Board
-
Lay a laminate piece on top of the second-to-last piece and push it against the wall, measuring the overlap.
-
Cut a guide out of scrap laminate, ensuring it’s as wide as the measured overlap, adding ¼-inch to account for the removed laminate.
-
With laminate still snug, place the new guide on top and keep it snug.
-
Run the guide down the length of the laminate piece, using the pen to mark the last cut piece.
-
Cut the piece on the waste side and use a damp cloth to remove any marks.
Step 4: Use Spacers to Cut and Then Remove Once Complete
-
Rest laminate flooring within the home for several days so it can acclimate to the humidity levels. This ensures that the pieces do not pull apart or buckle once installed.
-
Using scrap materials, create ¼-inch spacers for an expansion gap around the room’s perimeter.
-
Divide the spacers out every one to two feet.
-
Snug the first laminate piece up to the first row of boards to the spacers.
-
Once the laminate is installed, remove the spacers to allow it to expand.
While it’s relatively easy to cut laminate flooring, we recommend seeking the help of a professional to get the job done perfectly.
Once the laminate is cut, you can prepare the pieces for installation. Before laying down the laminate, it’s essential to ensure that the proper subfloor is in place. According to NWFA guidelines, you should always follow the manufacturer’s recommendation for a suitable subfloor.
Additionally, you should consider the grade level of your home you wish to install laminate flooring. The NWFA outlines three different grade levels:
Fortunately, engineered laminate flooring can be successfully installed on any grade level of your home. Once installed, learn how to make your laminate floors last through proper care and maintenance.
Shop New Laminate Flooring
Twenty & Oak Flooring Experts
Twenty & Oak Flooring Experts are a team of flooring professionals with over 150 years of combined experience in the industry. They have hands-on experience with all flooring types and bring inside industry know-how to homeowners in the Southeast.
Beautiful Floors Start Here
Get Inspired
-Flooring Trends & Styles
-Flooring Renovation Tips
-Expert Flooring Picks
Start to Plan
-Take Our Flooring Quiz
-Find Your Favorite Products
-Get Advice From Our Pros
Pick Your Floors
-Order Samples
-Get A Flooring Quote
Get Answers to Your Questions
-Flooring Installation Questions
-Common Questions
-How to Choose the Right Floor for You